This blog gives a overview how to configure Visual Studio and ProRibbon to display Winfors Ribbon Framework - Ribbons. It uses only the minimalistic steps you need to setup a new Ribbon Control.
Windows Ribbon Source Code
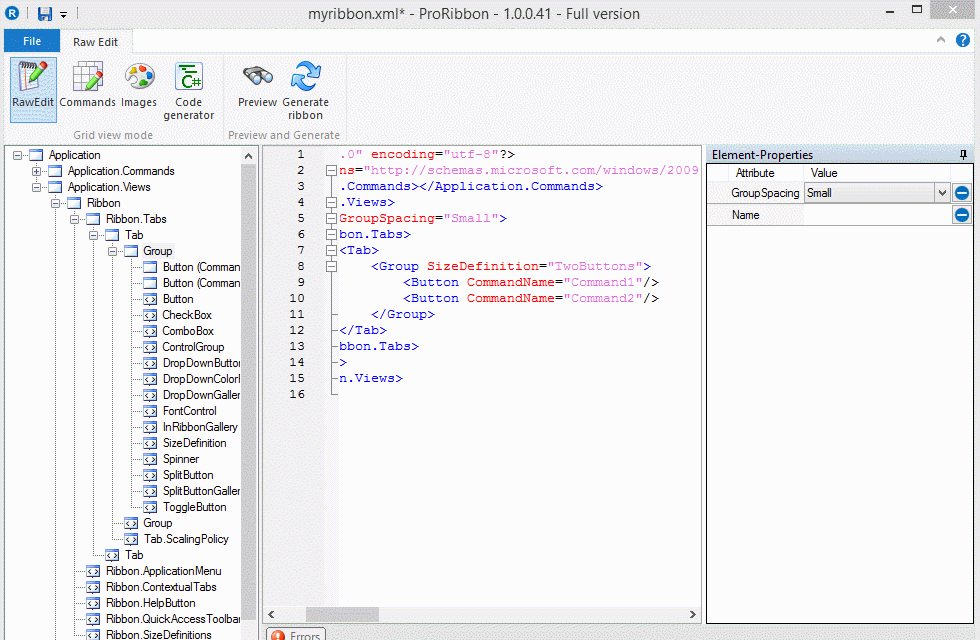
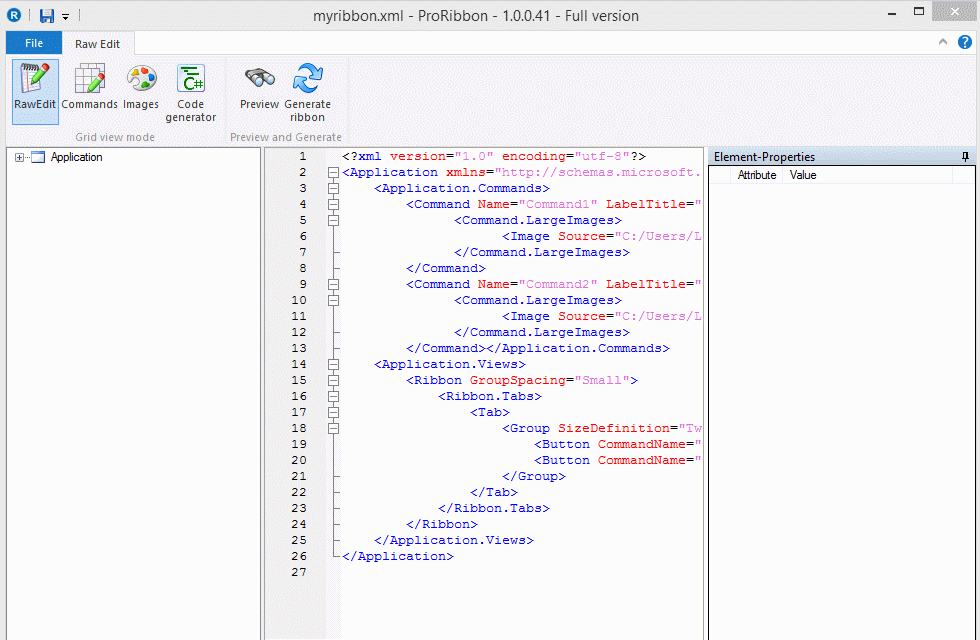
<?xml version="1.0" encoding="utf-8"?>
<Application xmlns="http://schemas.microsoft.com/windows/2009/Ribbon">
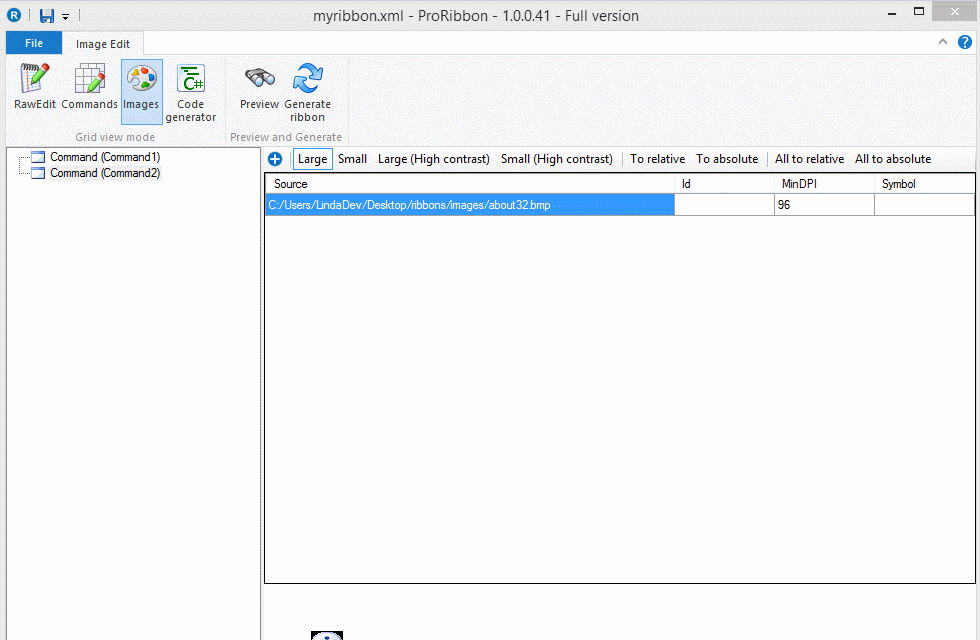
<Application.Commands>
<Command Name="Command1" LabelTitle="Test 1" Id="3">
<Command.LargeImages>
<Image Source="C:/Users/LindaDev/Desktop/ribbons/images/disk_blue32.bmp" MinDPI="96"/>
</Command.LargeImages>
</Command>
<Command Name="Command2" LabelTitle="Test 2" Id="4">
<Command.LargeImages>
<Image Source="C:/Users/LindaDev/Desktop/ribbons/images/about32.bmp" MinDPI="96"/>
</Command.LargeImages>
</Command></Application.Commands>
<Application.Views>
<Ribbon GroupSpacing="Small">
<Ribbon.Tabs>
<Tab>
<Group SizeDefinition="TwoButtons">
<Button CommandName="Command1"/>
<Button CommandName="Command2"/>
</Group>
</Tab>
</Ribbon.Tabs>
</Ribbon>
</Application.Views>
</Application>
.NET Source Code
In this sample no source code is used. Simply generate a new C# .Net Solution and see the workflow for detailed instructions.